Your USB cable is 30 centimeters too short. The printer sits just out of reach, the webcam won’t reach the conference table, or the external hard drive dangles awkwardly behind the desk. You need to connect two USB cables together — and you need it to work without frying your devices or killing your data transfer speed.
The short answer: use a USB coupler, an extension cable, or a powered hub. Don’t splice wires together unless you know exactly what you’re doing.
Here’s how each method works, when to use it, and the one thing you should never try.
Know Your USB Connectors First
Before connecting anything, identify what you’re working with. USB cables come in several connector types:
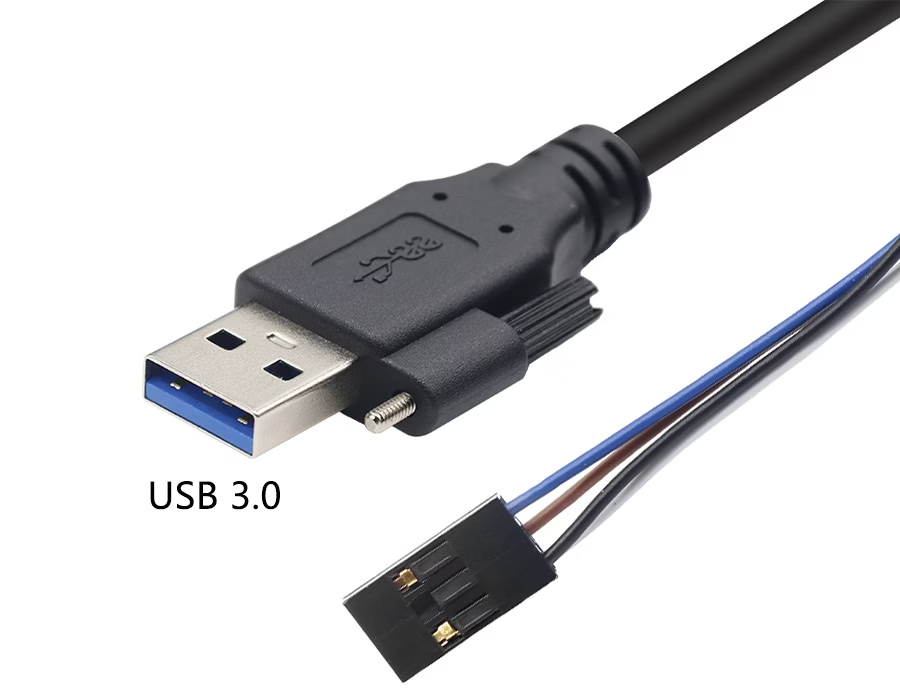
- USB-A: The classic rectangular plug. Still the most common on computers and chargers.
- USB-B: Square-shaped, mostly found on printers and older external drives.
- USB-C: Oval, reversible, increasingly standard on new devices.
- Micro-USB: The smaller trapezoid plug used on older Android phones and accessories.
- Mini-USB: An older, smaller connector — rare now but still on some cameras.
You also need to know which end is which. A male connector has the metal prongs that plug in. A female port receives them. Most standard USB cables are male-to-male on the connector ends — which is why connecting two of them directly is impossible without an adapter.
Method 1: USB Coupler (Female-to-Female Adapter)
A USB coupler is a small, inexpensive adapter with female ports on both ends. You plug one male cable into each side, and you’ve got an extended connection in seconds.
How to do it:
- Get a coupler that matches your USB type (USB-A, USB-C, etc.).
- Plug the first cable’s male end into one side of the coupler.
- Plug the second cable’s male end into the other side.
- Connect the free ends to your device and computer.
Pros:
- Zero tools required
- No modification to existing cables
- Costs under $5 typically
- Maintains full data transfer capability when using a quality coupler
Cons:
- Adds a small rigid section to your cable run
- Cheap couplers can cause signal degradation, especially on USB 3.0
Important: For USB 3.0 or USB-C connections, buy a coupler rated for those speeds. A USB 2.0 coupler on a USB 3.0 line will bottleneck your data transfer to 480 Mbps — and may not pass through all the pins needed for higher-speed protocols.
This is the method I recommend for most people. It’s fast, reversible, and doesn’t require buying new cables.
Method 2: USB Extension Cable
A USB extension cable has a male connector on one end and a female port on the other. It’s designed specifically for this job — extending reach.
How to do it:
- Plug the extension cable’s male end into your computer or charger.
- Connect your existing USB cable’s male end into the extension’s female port.
- Attach the other end of your existing cable to your device.
Pros:
- Purpose-built for extension — no adapter joints
- Available in various lengths (1m, 2m, 3m, 5m)
- More durable than a coupler setup for permanent installations
Cons:
- You’re adding another cable to manage
- Long passive extensions degrade signal quality
The length problem: USB has hard physical limits. For USB 2.0, the maximum total cable length is 5 meters (16.4 feet). For USB 3.0 and 3.1, it drops to 3 meters (9.8 feet). Go beyond these limits and you’ll see dropped connections, slow transfers, or devices that simply won’t enumerate.
If you need to go longer than 3 meters with USB 3.0, look for an active USB extension cable — these have a built-in signal repeater that regenerates the data signal. They cost more but actually work beyond the passive limit.
Method 3: USB Hub (Powered vs. Bus-Powered)
A USB hub gives you multiple ports from a single connection — and it also works as a way to connect two cables together while adding expandability.
How to do it:
- Plug the hub into your computer using its built-in cable.
- Connect your USB cables into the hub’s downstream ports.
- If the hub is powered, plug it into a wall outlet.
Powered vs. bus-powered hubs — this matters:
| Type | Power Source | Max Per-Port Current | Best For |
|---|---|---|---|
| Bus-powered | Computer’s USB port | 100-500mA shared | Keyboard, mouse, low-power devices |
| Self-powered | Wall adapter | Up to 900mA+ per port | External drives, cameras, multiple devices |
USB 2.0 ports deliver 500mA total. USB 3.0 bumps that to 900mA. If you plug a bus-powered hub into a USB 2.0 port and connect two power-hungry devices, they’ll fight for current — and one or both will malfunction.
For anything beyond a keyboard and mouse, get a powered hub. The extra $10 is worth not troubleshooting random disconnects.
You can also daisy-chain hubs. The USB specification supports up to 127 devices on a single host controller through cascading hubs. In practice, you’ll hit power and bandwidth limits long before that number — but for extending reach, a hub at the midpoint of a long run acts as a signal repeater, effectively letting you go beyond the standard cable length limits.
What You Should Never Do: Splicing USB Cables
Cutting two USB cables and soldering the wires together seems like a cheap fix. It’s not.
Here’s why splicing is a bad idea:
USB cables aren’t just four random wires. Inside a standard USB 2.0 cable, you have:
- Red (VCC): +5V power
- Black (GND): Ground
- White (D-): Data negative
- Green (D+): Data positive
USB 3.0 adds five more wires for SuperSpeed data — and getting those twisted-pair data lines right requires precise impedance matching. A hand-soldered splice introduces impedance discontinuities that cause signal reflections, which translate directly to data errors and dropped packets.
What can go wrong:
- Short circuits if insulation fails — can damage your computer’s USB controller
- Data corruption from poor solder joints
- Intermittent connections that are a nightmare to troubleshoot
- The splice point becomes a mechanical weak spot that fails under repeated bending
If you have the soldering skills and equipment to do this properly — with heat-shrink insulation on every individual wire, proper strain relief, and impedance testing — you probably already work in custom cable assemblies and don’t need this article.
For everyone else: buy a coupler. They cost less than the heat-shrink tubing you’d waste on a failed splice.
USB Cable Length Limits at a Glance
| USB Version | Max Passive Cable Length | Max Data Rate |
|---|---|---|
| USB 2.0 | 5 meters (16.4 ft) | 480 Mbps |
| USB 3.0 / 3.1 Gen 1 | 3 meters (9.8 ft) | 5 Gbps |
| USB 3.1 Gen 2 | 1 meter (3.3 ft) passive | 10 Gbps |
| USB-C (USB 3.2 / USB4) | 0.8-1 meter passive; longer with active cables | Up to 40 Gbps |
For USB-C and Thunderbolt, the situation is different — active cables with built-in retimer chips can reach 2 meters or more at full speed, but they’re significantly more expensive than passive cables.
Troubleshooting: When Your Extended Connection Doesn’t Work
Device not recognized?
- Try a different USB port on your computer
- Remove any intermediate adapters and test each cable individually
- Check if the total cable length exceeds the USB version limit
Slow transfer speeds?
- You’re likely running a USB 3.0 device through a USB 2.0 coupler or extension
- Replace with USB 3.0-rated components throughout the chain
- Check for interference from nearby power cables
Intermittent disconnects?
- Inspect all connectors for bent pins or debris
- If using a bus-powered hub, switch to a powered one
- Wiggle-test each connection point — loose couplers are a common culprit
Device not charging?
- Bus-powered hubs can’t deliver enough current for charging
- Use a powered hub or a dedicated charger
- Remember: USB 2.0 ports max out at 500mA, which won’t charge most modern phones at full speed
When Off-the-Shelf Solutions Don’t Fit
Couplers, extensions, and hubs solve most home and office scenarios. But if you’re building a product, setting up industrial equipment, or need a cable assembly that doesn’t exist in any catalog — you need a different approach.
This is where custom cable assemblies come in. Instead of chaining adapters and hoping for the best, you get a single cable built to your exact specifications: connector types, length, shielding, jacket material, and electrical characteristics all specified upfront. No couplers. No compromises.
For manufacturers and OEMs, custom wire harnesses take this further — integrating USB connections alongside power, signal, and data lines into a single organized assembly. If you’re dealing with ribbon cable assemblies in tight enclosures or custom coaxial cables for RF applications, the same principle applies: a purpose-built assembly always outperforms a chain of adapters.
Need something specific? Contact our engineering team with your requirements — connector types, length, environment, and quantity — and you’ll get a quote within 24 hours.
FAQ
Q: Can I connect two USB cables to make one longer cable?
A: Yes, using a USB female-to-female coupler or a USB extension cable. Both methods are safe and maintain data transfer when using quality components. Avoid splicing cables together — it’s unreliable and risks damaging your equipment.
Q: What’s the maximum length for a USB cable?
A: USB 2.0: 5 meters (16.4 feet). USB 3.0/3.1: 3 meters (9.8 feet). USB 3.2/USB4 over USB-C: about 0.8-1 meter for passive cables. You can extend beyond these limits using active cables with built-in signal repeaters or powered USB hubs placed at intervals.
Q: Will connecting two USB cables slow down data transfer?
A: A quality coupler or extension cable adds negligible signal loss for USB 2.0. For USB 3.0 and above, each additional connection point introduces some signal degradation. Use components rated for your USB version and stay within the total length limit to maintain full speed.
Q: Is it safe to splice and solder USB cables together?
A: Not recommended. USB data lines are impedance-controlled twisted pairs. A hand-soldered splice creates impedance mismatches that cause signal reflections and data errors. The mechanical joint is also a failure point. Use a coupler instead — it’s cheaper, safer, and actually works reliably.