

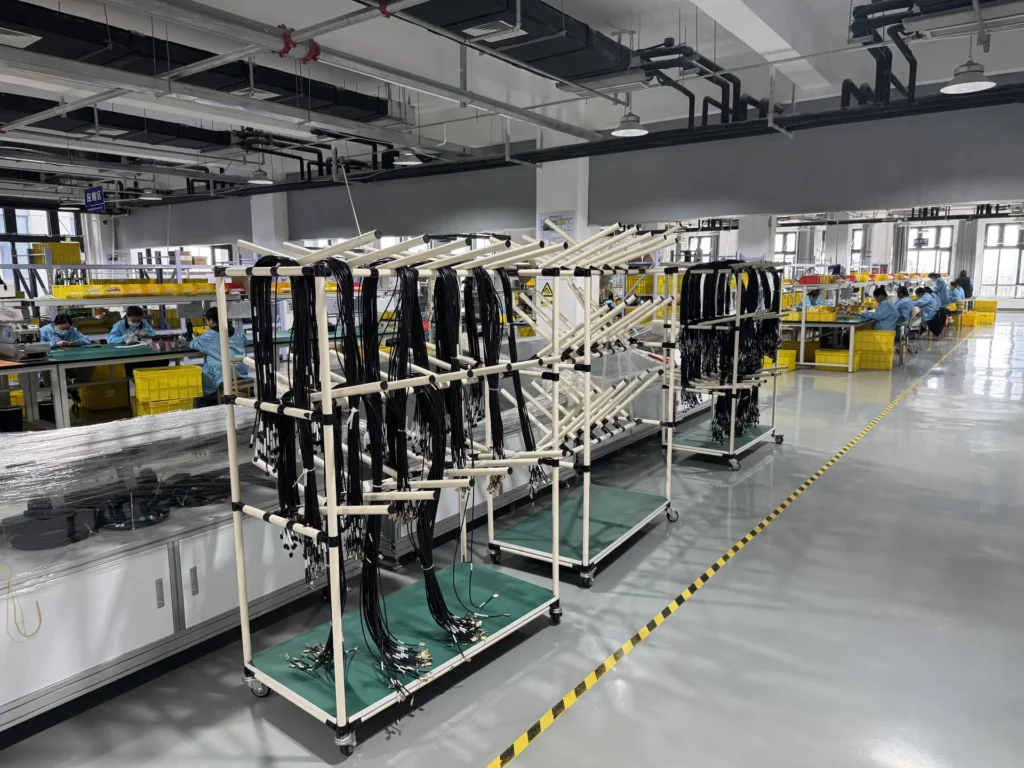
A harness can match the drawing and still hold up an equipment build. A branch exits at the wrong angle. A label moves behind a bracket. A connector bought for the final batch becomes obsolete stock when the new supplier starts on a different revision.
Transferring production means controlling those details while keeping supply available. This wire harness production transfer checklist is for OEM buyers, manufacturing engineers and supplier quality teams moving an existing part to a new source. It starts before the last purchase order and ends after the first production lots have proved usable on your line.
1. Assign a transfer owner and agree the release gates
Give one person responsibility for the transfer schedule, open issues and release record. Purchasing can coordinate commercial terms, but engineering must approve technical differences and quality must define the evidence needed for shipment.
Agree four gates: technical package accepted, tooling and material readiness confirmed, production-intent pilot accepted, and first shipment authorized. Put an owner, due date and approval record against each gate. A purchase order alone should not release production.
Check customer notification and approval obligations before committing to a move. An OEM, regulated program or customer-specific agreement may require additional qualification. PPAP or first-article requirements depend on the applicable contract and program; they are not interchangeable names for a sample inspection.
2. Freeze the technical baseline before requesting a firm transfer quote
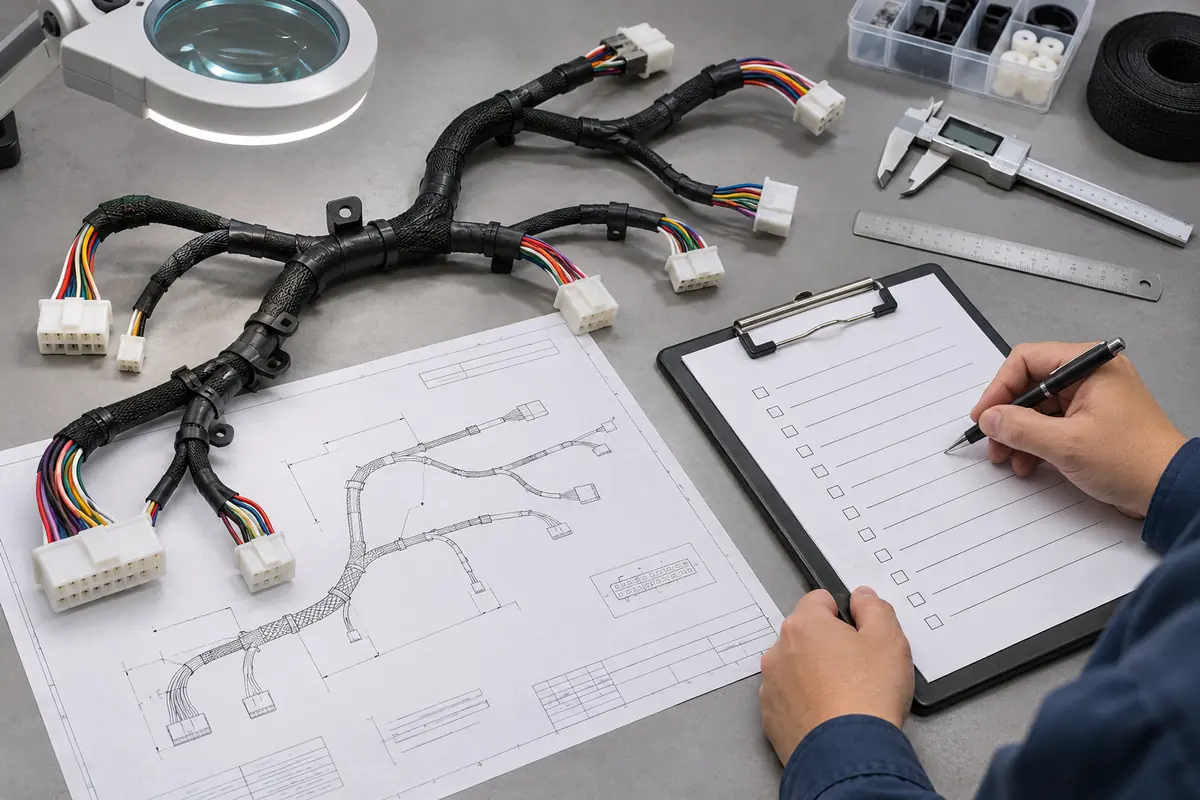
Send the receiving supplier a controlled package, not a folder of drawings collected from old emails. List the part numbers and revisions in scope. Include the drawing, bill of materials, approved manufacturer part numbers, pinout, connector cavity views, wire specifications, branch dimensions, labels, packaging and test requirements.
Make connector orientation explicit: a cavity drawing viewed from the mating face can be misread as the wire-entry view. Specify where branch lengths are measured and whether dimensions apply before or after sleeving, taping or overmolding.
- Record approved deviations and their expiry dates.
- Identify approved substitutions separately from parts merely proposed by the new supplier.
- Include relevant field complaints, assembly-line difficulties and previous corrective actions.
- Resolve conflicts between the drawing, BOM and retained sample in writing.
A reference sample helps explain routing and workmanship, but it can contain undocumented changes. Label its revision and approval status. Do not let copying a sample silently replace engineering control.
3. Reconcile old-revision inventory before placing the last order
Ask the outgoing supplier for a dated inventory statement covering finished goods, work in progress, cut wire, connector housings, terminals, labels and dedicated purchased material. Add stock at your warehouse, in transit, at subcontractors and held for service. Separate quantities by revision, lot, ownership and quality status.
For each line, choose a disposition: use as approved, rework to the released revision, transfer to the receiving supplier, retain for service, or scrap. Assign who approves and pays. An old revision is not automatically unusable, and an unopened box is not automatically acceptable.
Example: if Rev C changes a connector key from Rev B, leftover Rev B housings should not enter the Rev C build merely because the terminal system is unchanged. Quarantine them until engineering determines an authorized use or disposition.
Set a last-build revision and a cut-in identifier for the new source. This may be a lot, serial number or effective purchase order. Receiving inspection should be able to tell which supplier and revision produced every shipment.
4. Size the supply bridge around qualification risk
Count the time needed for material procurement, tooling work, pilot production, review, corrective action, transport and incoming inspection. Do not use the supplier’s assembly lead time as the entire transfer lead time.
A useful planning calculation is: bridge quantity = expected demand during the uncovered interval + agreed contingency − usable stock and confirmed receipts. Use consistent units and count only stock approved for the required revision. Treat the result as a planning estimate, then test it against demand swings and supplier delivery risk.
For illustration, 100 units per week over a six-week uncovered interval, plus 200 contingency units, less 300 usable units gives a 500-unit bridge requirement. Those figures are not recommended stocking levels.
A larger last order ties up cash and can create obsolete stock; a smaller one leaves less room for a failed pilot. Review connector minimum buys, non-cancellable orders, storage conditions and service obligations before settling the quantity. Keep the outgoing source available where commercially feasible until the new process clears the agreed gates.
5. Transfer tooling, fixtures and test assets as controlled equipment
Build an asset register before arranging shipment. Cover crimp applicators, dies, harness boards, molds, gauges, test adapters, mating connectors, software and test programs. For each asset, record its ID, owner, condition, location, maintenance history, relevant calibration status and the equipment on which it operates.
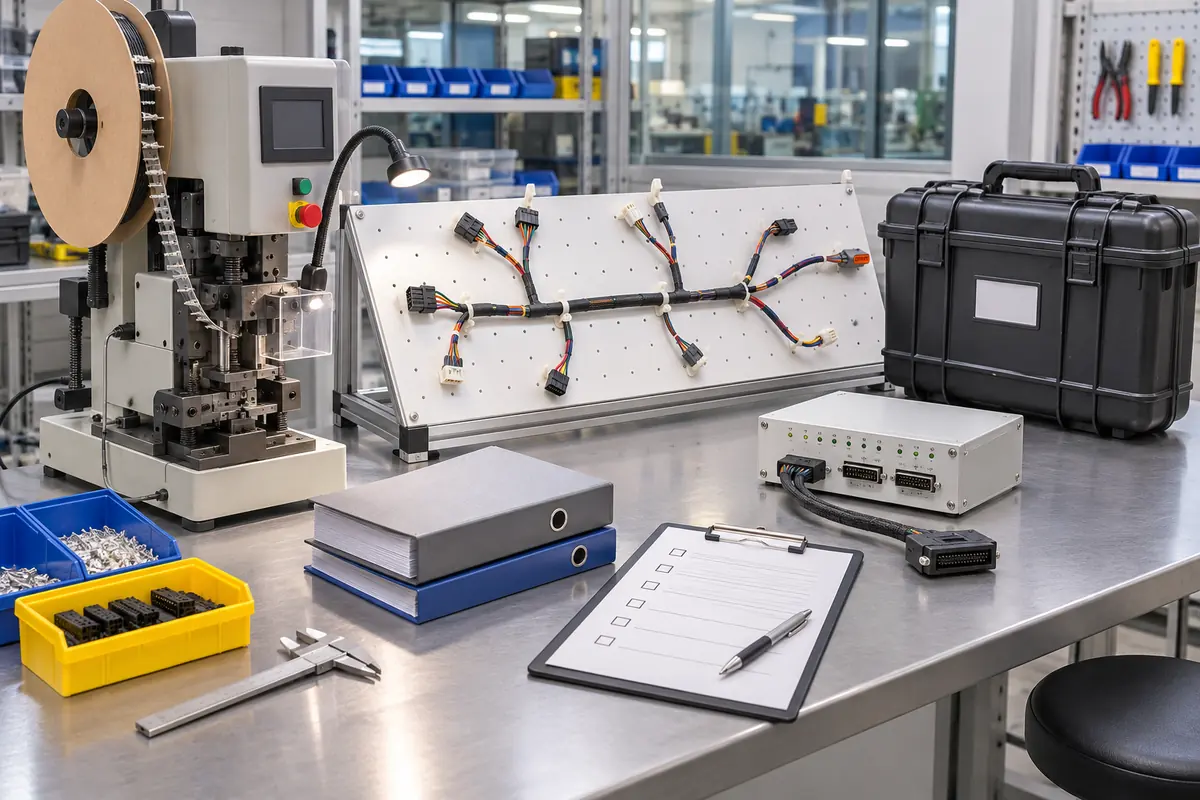
Ownership needs checking. Paying a tooling charge does not by itself establish the right to remove every fixture, copy proprietary software or obtain the outgoing supplier’s process know-how. Resolve access, licenses, shipping responsibility, insurance and any repair costs before the scheduled move.
At the receiving site, verify completeness and condition against the dispatch record. Confirm press compatibility, fixture dimensions, adapter wiring and test-program revision. Protect a controlled master copy of the test files and record any changes.
Transferred tooling still needs process validation on the receiving equipment. A previous setup value does not prove that a different press, material lot or operator will produce an acceptable termination. Define the evidence needed for each terminal and wire combination with the applicable component specifications and approved control plan.
6. Qualify a production-intent pilot, then check it in the equipment
The pilot should use the intended production site, materials, tools, instructions and test method. If samples were made by a specialist on temporary equipment, record that limitation and close it before routine production approval.
Agree sample quantity, selection method and acceptance criteria before the build. There is no single sample count that suits every harness. The plan should reflect variant count, process risk, failure history and customer requirements.
- Identity: verify BOM, wire marking, connector and terminal identity, labels and approved revision.
- Dimensions and fit: check branches, breakouts, orientation, mounting points, strain relief and installation in the actual equipment or a representative fixture.
- Terminations: review visual workmanship, crimp measurements and destructive tests where specified. Retain results against the relevant setup and material lot.
- Electrical behavior: verify continuity, pinout and shorts, plus insulation, dielectric, shielding or functional checks where the approved specification requires them.
- Traceability: link samples and results to material lots, operators, tooling and test-program revision.
Do not select insulation or dielectric test settings by habit; unsuitable settings can damage components in an assembly. Likewise, a continuity pass does not establish crimp strength, sealing performance or correct fit. Use the approved test plan for the product.
7. Authorize the first batch with a written release
A good sample does not automatically release the first production shipment. Before dispatch, assemble the approval record: accepted pilot results, resolved nonconformances, material approvals, controlled work instructions, test coverage, lot identification and packaging confirmation.
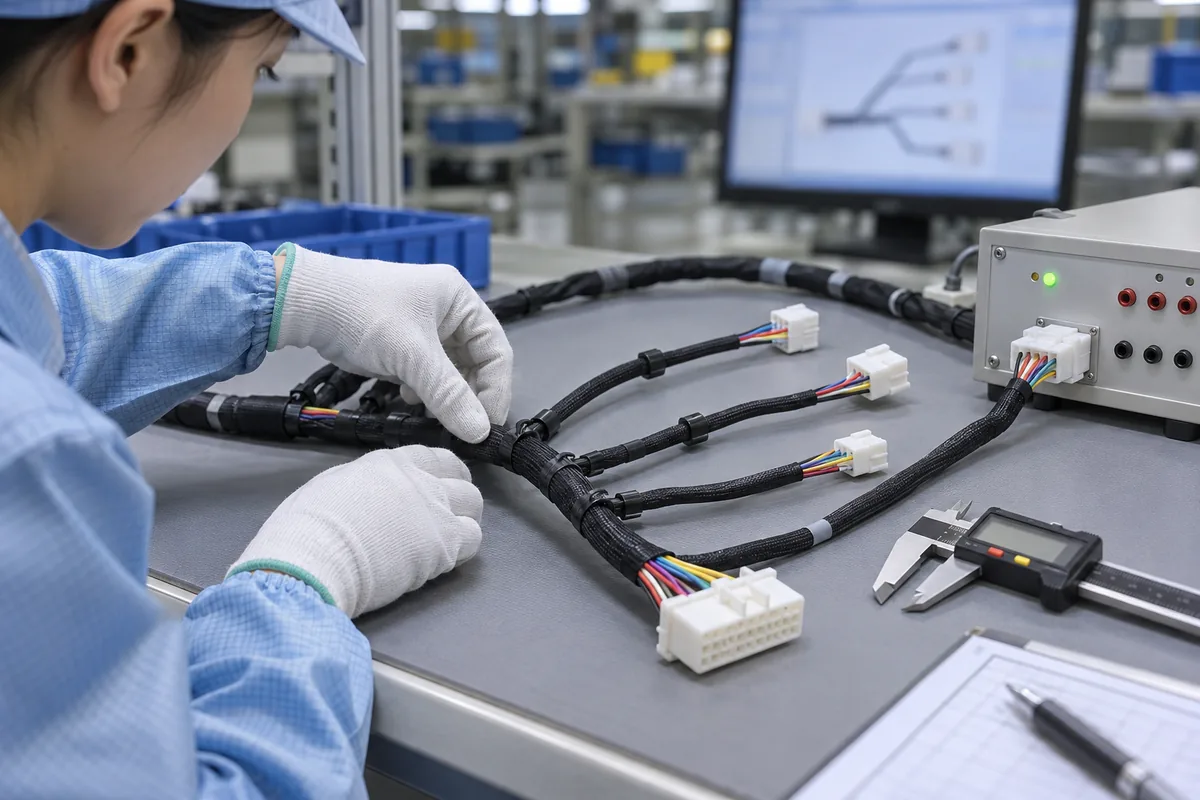
Engineering and quality should sign the release within their authority. If an interim concession is necessary, state the exact deviation, quantity or lots covered, expiry date and additional controls. Avoid open-ended approval phrases such as “acceptable for now.”
Mark the first shipment so incoming inspection can route it for the agreed checks. Confirm carton labels, handling protection and packing quantities before dispatch. Damage or tangled branches can stop a build even when the harness passed its electrical test.
OEM transfer checklist: evidence required at each gate
| Gate | Evidence to retain | Suggested accountable function |
|---|---|---|
| Scope and baseline | Released drawings, BOM, deviations and part/revision list | Engineering |
| Inventory disposition | Reconciled stock, ownership and approved use/rework/scrap decisions | Purchasing and planning, with engineering approval |
| Supply continuity | Bridge calculation, confirmed receipts and recovery plan | Planning |
| Asset readiness | Tool register, receiving checks and validation results | Manufacturing engineering |
| Pilot acceptance | Production-intent inspection, test and equipment-fit records | Quality and engineering |
| First shipment | Lot-specific release, closed issues or bounded concessions | Authorized quality representative |
| Transfer closure | Agreed production performance achieved; residual stock and assets settled | Transfer owner |
8. Close the transfer after production performance is demonstrated
Set the monitoring period before launch. Track incoming defects, line-fit issues, rework, test failures, delivery performance and traceability for the agreed lots. Define the escalation point and who can place shipments on hold.
Keep corrective actions tied to affected lots. If a wrong cavity assignment appears, determine what else was built with that instruction or test program before accepting a replacement shipment.
Close the project when the agreed performance criteria are met and residual inventory, tooling custody and commercial obligations are settled. A completed tool move is only one milestone in the cable assembly supplier transfer process.
Questions OEM buyers often ask
Can we transfer production without the old supplier’s tooling?
Yes, if the receiving supplier can develop and qualify replacement tooling against the released product requirements. Budget for design, fabrication, validation and any customer approvals. Confirm the rights to use the product data before sharing it.
Should we redesign the harness during the transfer?
Combining changes makes it harder to identify the cause of a failed pilot. Where practical, qualify the existing released design first. If obsolete parts or safety issues make a design change necessary, identify it separately and approve its validation plan and inventory cut-in.
Who pays for obsolete material?
That depends on the purchase terms, material authorizations, ownership and agreed change responsibility. Reconcile quantities and evidence before accepting a liability claim. Include dedicated labels, terminal reels and non-cancellable connector orders in the review.
Discuss your production transfer with OUKETECH
OUKETECH supplies custom wire harnesses and cable assemblies for OEM projects. For an initial transfer review, share the released drawing and BOM, annual demand and order pattern, target cutover date, current inventory position, tooling ownership list and required approval package.
Flag any missing records or unavailable tooling at the start. Those gaps affect the work needed, the transfer cost and the schedule. Explore our OEM cable manufacturing services or contact OUKETECH to discuss your harness transfer.